


Yashica T3 Battery Door Broken? The Permanent Fix
The Yashica T3 (and T3 Super / Kyocera T Scope) is a rock-solid compact camera from the ’90s, with just one small weak point: the battery compartment cover latch. When the small plastic tab breaks off, owners often resort to tape to keep the 2CR5 battery in place. This guide shows you a simple 5-minute replacement that permanently solves the problem and even looks better thanks to its leather-textured finish.
What you'll need
- Flathead screwdriver; approximately 3 mm or smaller works best.
- Small pliers or clamp (or scissors) for removing and reinserting the retaining pin.
- The replacement battery compartment cover (fits Yashica T3 / T3 Super / Kyocera T Scope).
- Optional: a clean, well-lit workspace and a small bowl for the tiny plastic part.
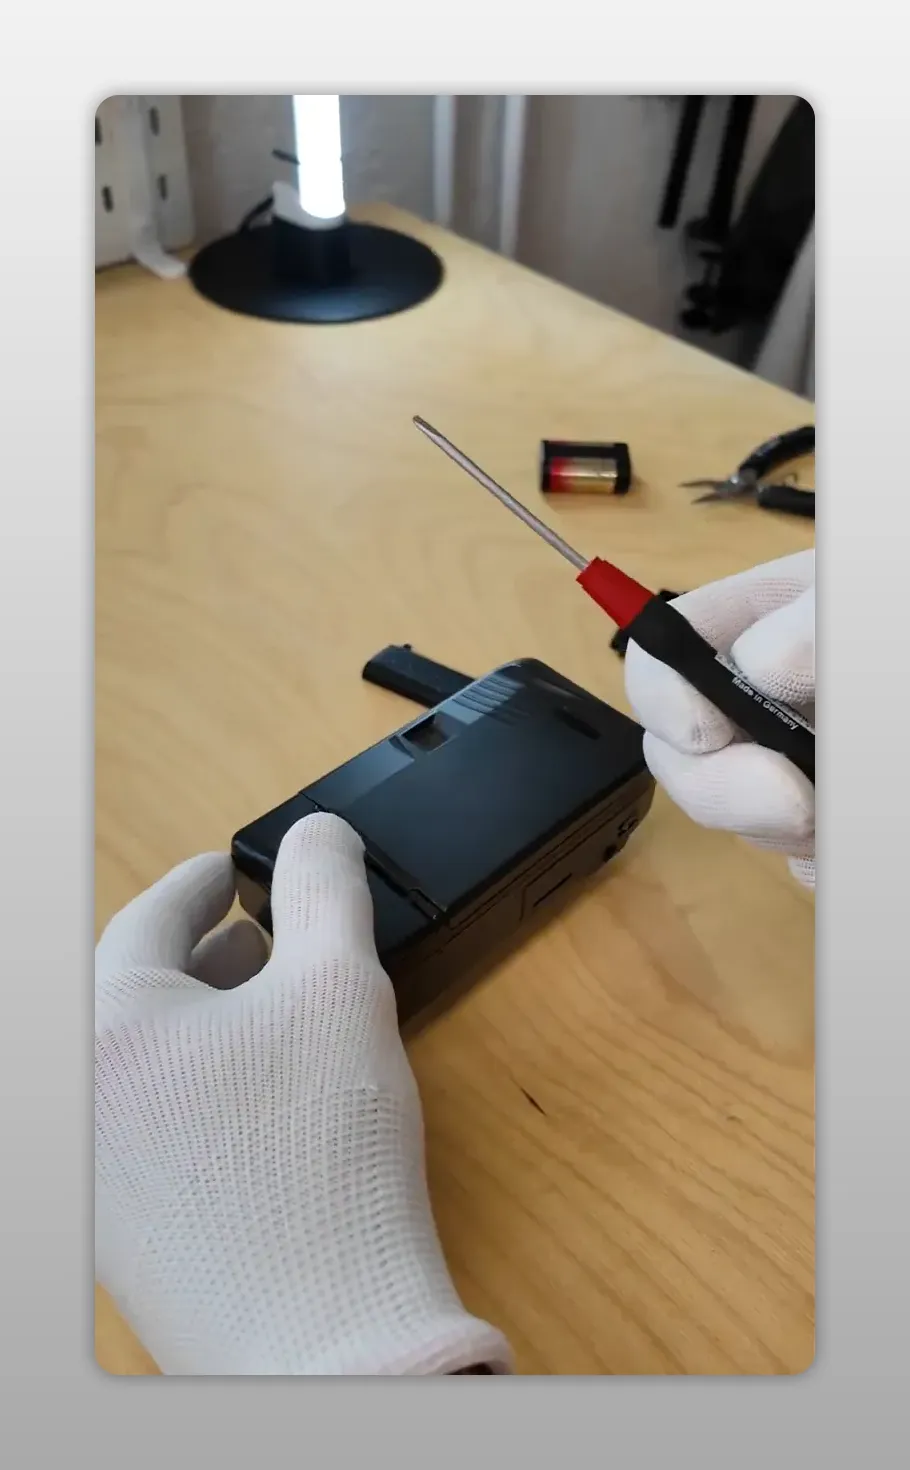
Step 1: Inspect the battery compartment
Open the battery compartment and check which part is broken. The most common defect is the small plastic latch that keeps the flap closed. The surrounding plastic may look welded or firmly attached, but it isn't. With a little patience, you can loosen this cover and access the retaining pin underneath.
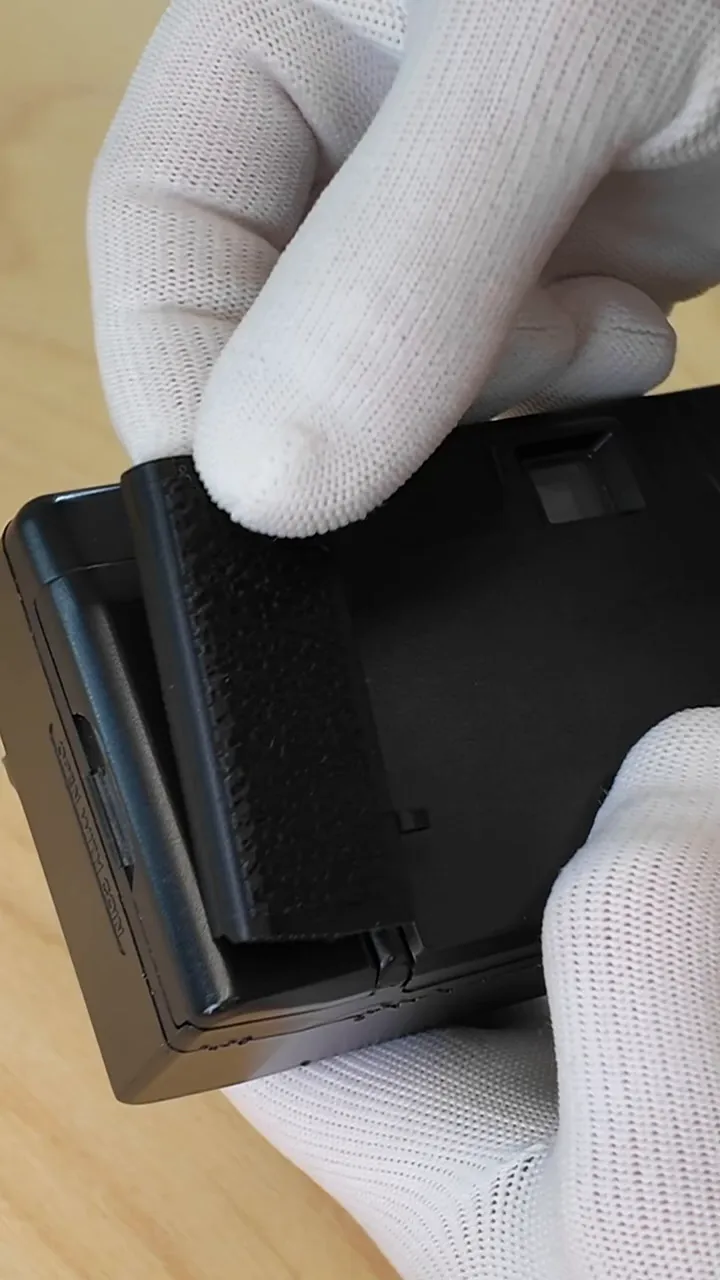
Step 2: Loosen the small plastic cover and expose the pin
- Use your flathead screwdriver to carefully lift under the plastic cover next to the hinge. Apply a little force and it will come loose and fall out; it isn't actually welded in place.
- Once it's removed, you'll see the thin pin that holds the flap in place.
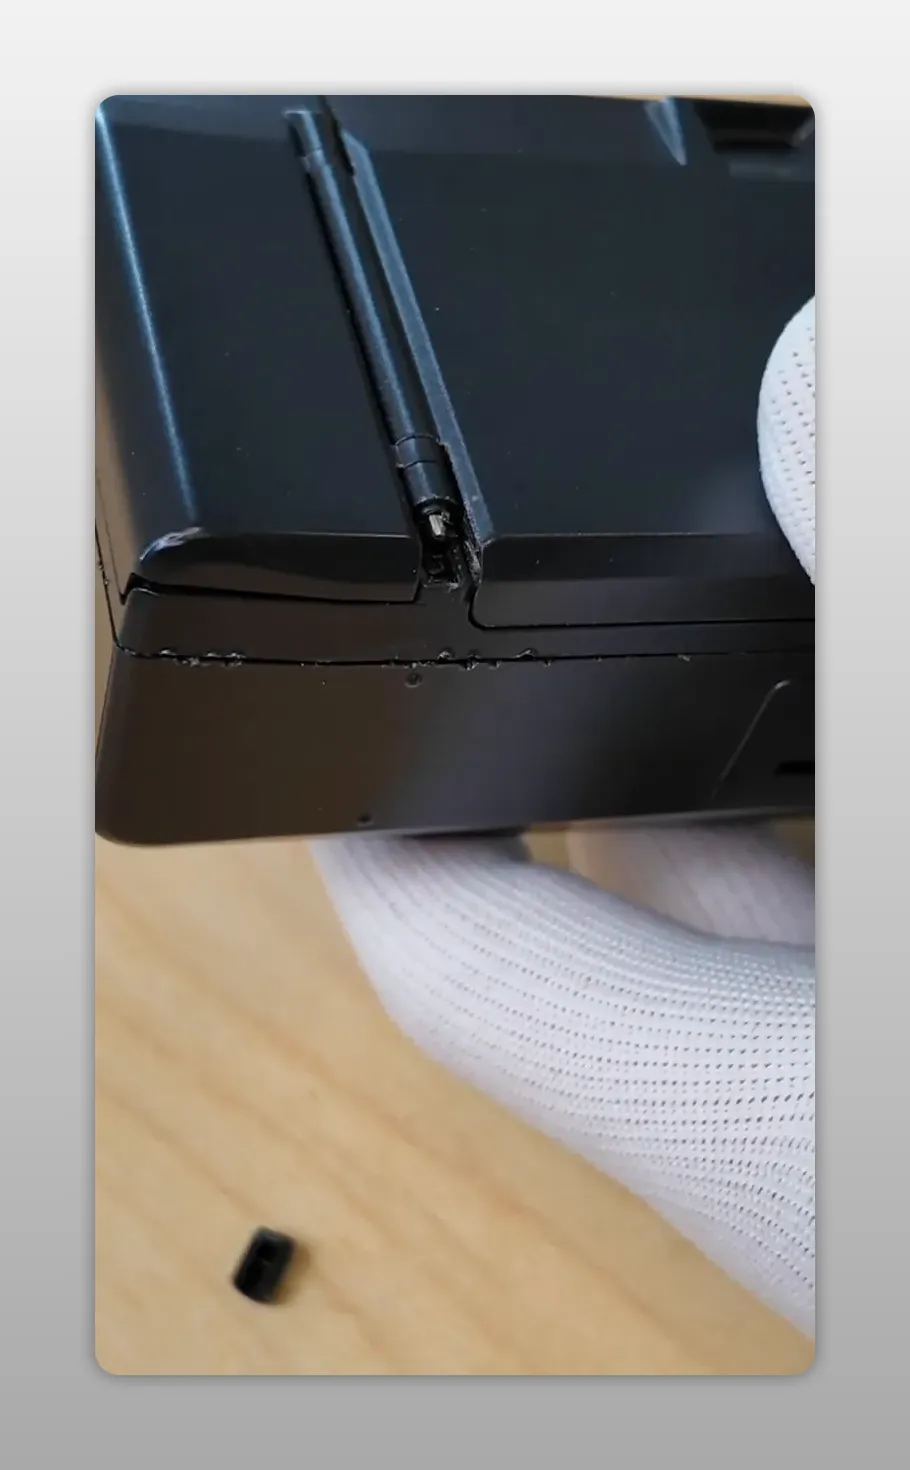
Step 3: Remove the pin and take out the broken flap
- Use the small pliers or clamp to grip and pull out the pin. Sometimes it slides out easily; other times it takes a little wiggling. Patience is key.
- Keep the pin and the small plastic cover in a safe place—don't lose them.
- Once the pin is removed, you can take the broken flap out of the hinge.
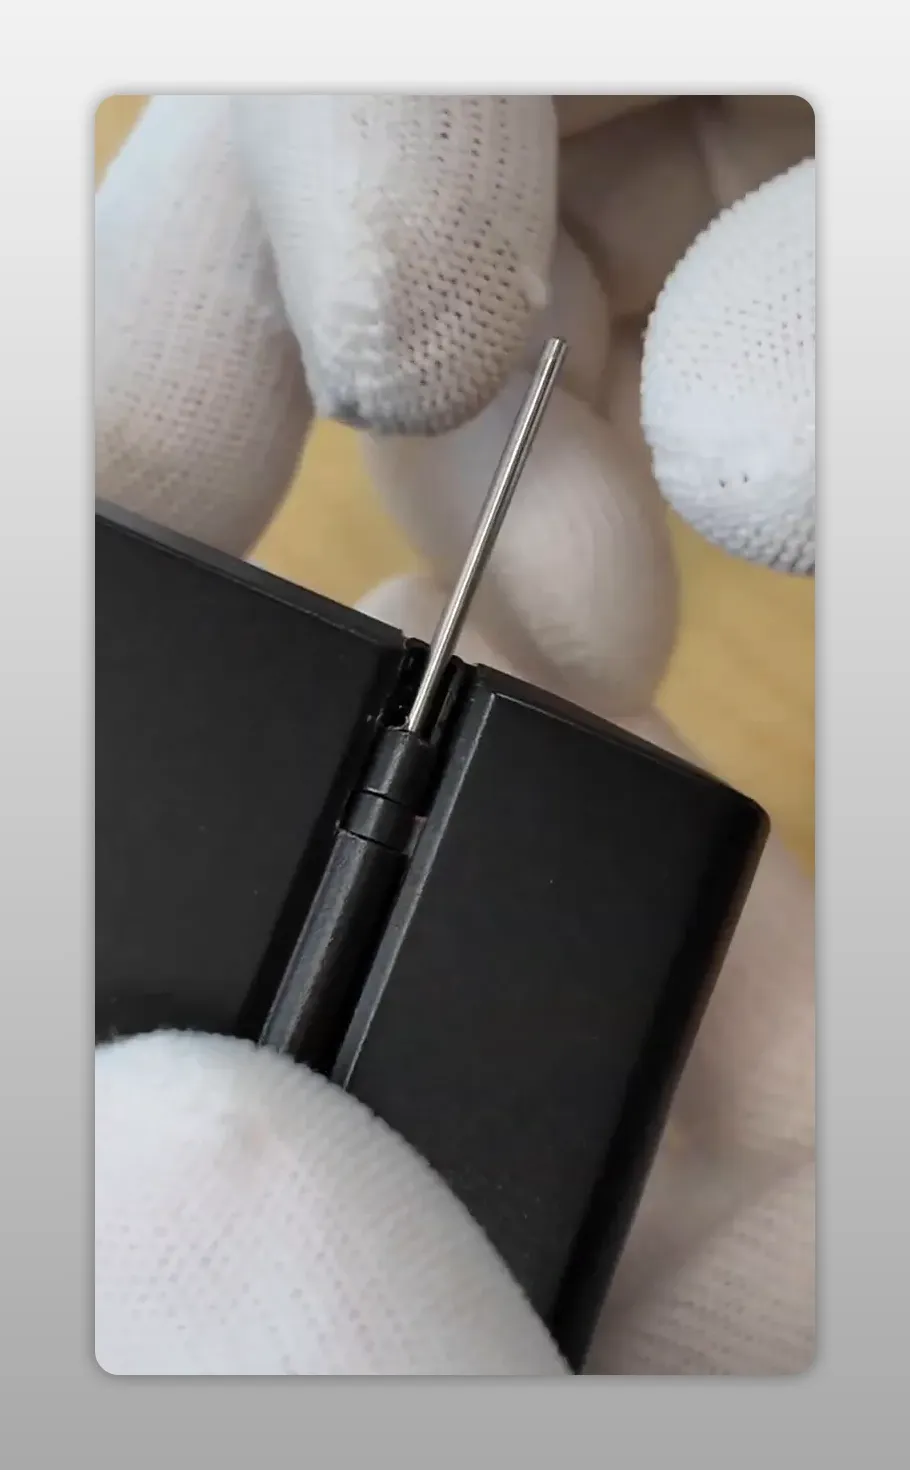
Step 4: Insert and assemble the new cover
- Insert the replacement cover into the hinge. It may feel a little fiddly if the new part has a glossy finish; align it carefully and press it into position.
- Slide the retaining pin back through the hinge and the new cover. Use the pliers to gently press the pin all the way in.
- Reattach the small plastic cover by clicking it back into position.
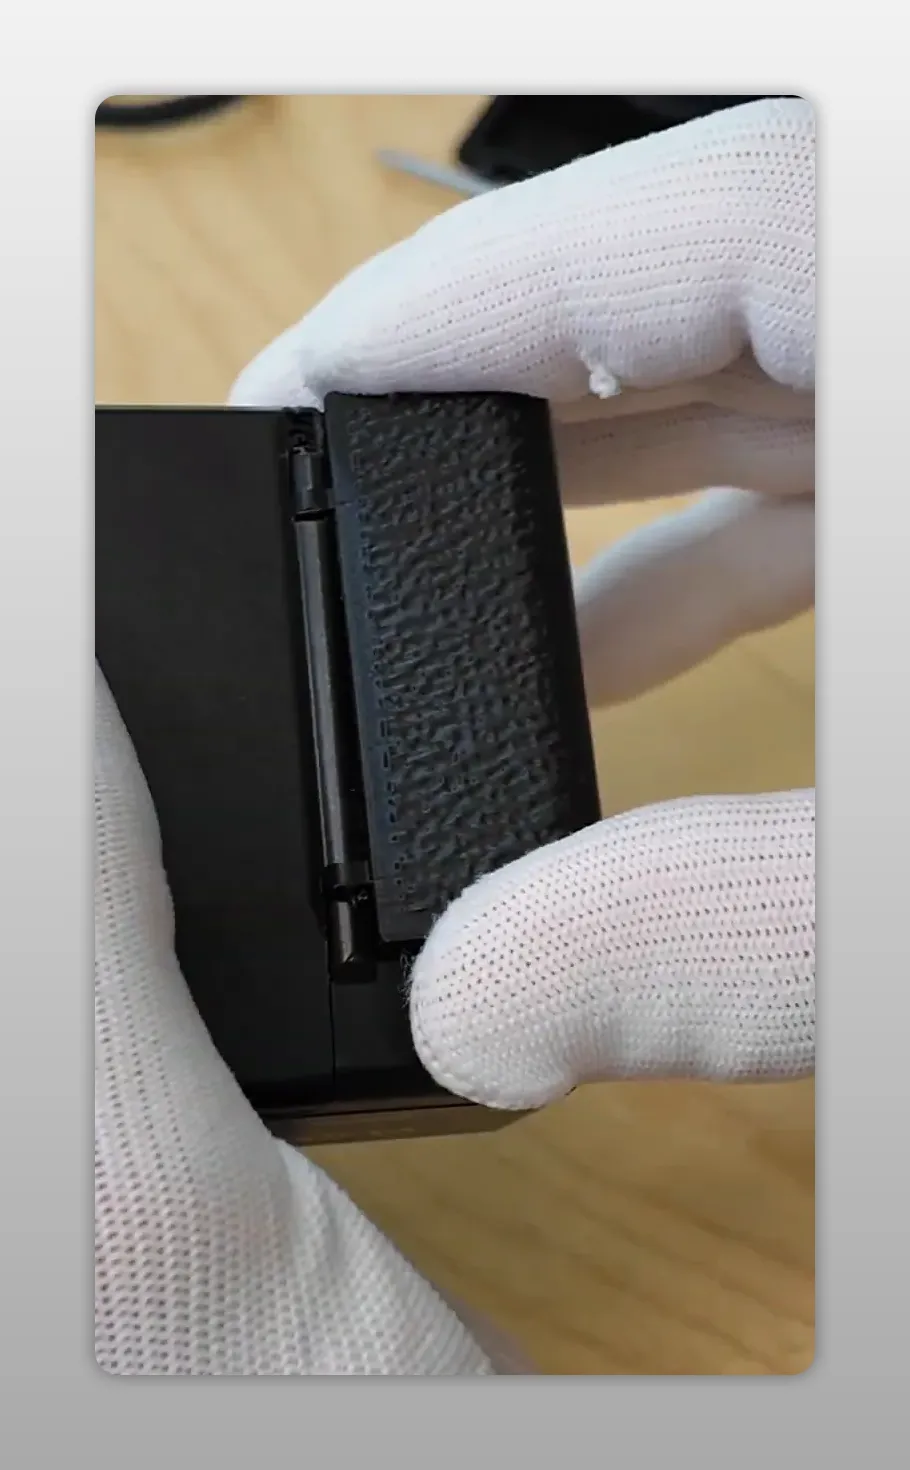
Step 5: Test the cover and insert the battery
- Open and close the cover a few times. The new cover should snap firmly into place and require some force to open, which is good: it means the battery will stay securely in place even without tape.
- The battery type is 2CR5 (lithium). These are widely available, but shipping is often restricted; buy one locally if necessary.
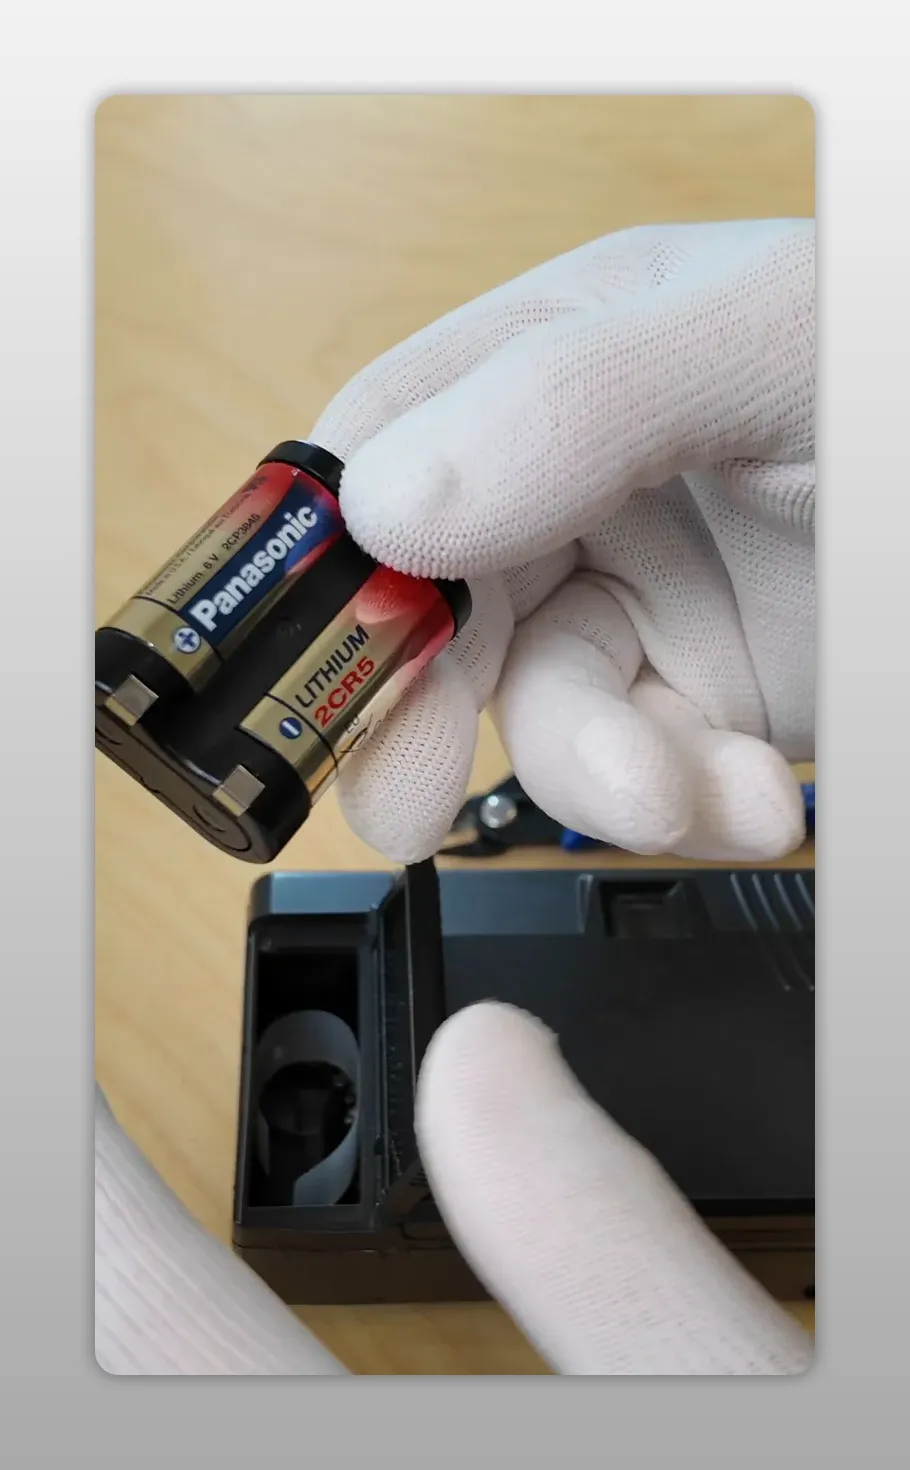
Important notes and tips
- Sealing: The replacement cover does not include the original rubber seal. This means the camera will no longer be splashproof after the replacement. Given the age of the original seals, it is sensible to keep the camera dry anyway.
- Secure small parts: Place the pin and plastic cover in a small bowl during the replacement so you don’t lose them.
- Tools: A small flathead screwdriver (under 3 mm) makes prying easier and reduces the risk of scratching the camera.
- Time: The whole job takes about five minutes when the parts and tools are ready.
Compatibility
- Yashica T3
- Yashica T3 Super
- Kyocera T Scope
Conclusion
Replacing the brittle battery compartment cover on a Yashica T3 is a quick, inexpensive repair that restores functionality and avoids the ugly, unreliable duct-tape solution. The replacement part is sturdy, looks good, and keeps your camera ready to use; just remember that the original splash protection will not be restored.
Do you have questions or have you run into problems during the replacement? Leave a comment or ask for help. The repair is straightforward, but a second pair of hands and a calm workspace make it even easier.
