

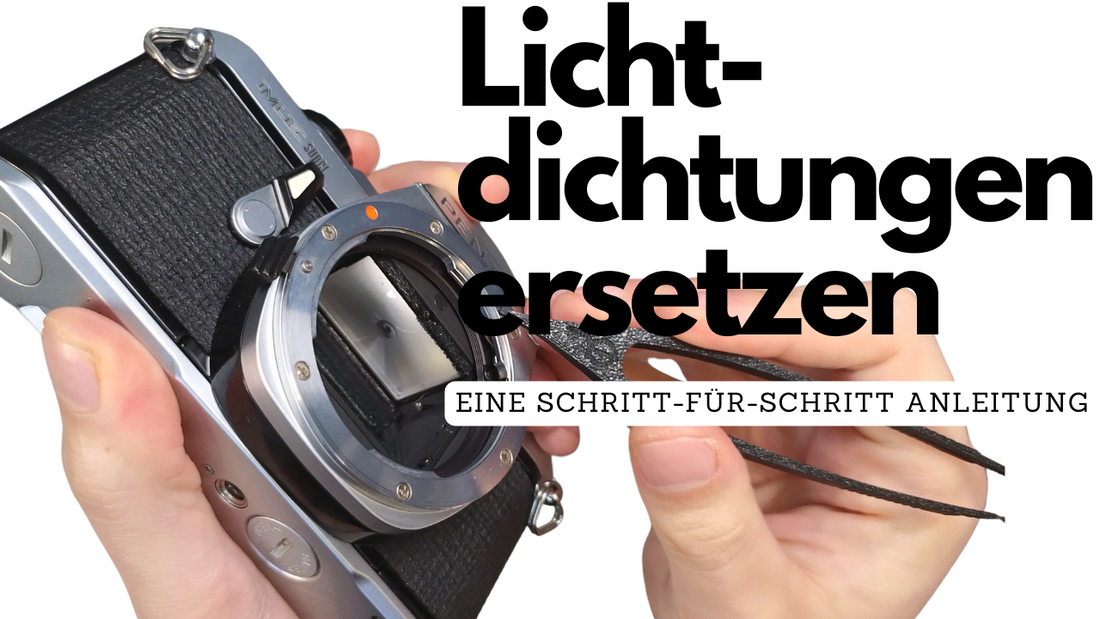
How to Replace the Light Seals on Your Analog Camera
The following video (in English, with German subtitles) shows the process in detail:
If you own one or more analog cameras, the chances are high that the light seals on one or all of them need to be replaced.
These small foam strips decompose over time and can cause light leaks that can ruin your photos completely in the worst case. In any case, the image quality suffers, and the vast majority of cameras available on the used market (especially from private sellers) are sold with defective light seals.
If the seller does not explicitly state it, you can assume that a camera is being sold with defective light seals.

Photo: So-called light leaks due to defective light seals
The replacement requires some time, patience, and nerves, but it can also be done well by amateurs on a quiet afternoon. In this guide, I show you step by step how to replace the light seals – exactly as we used to do it in our small camera workshop. We have sealed hundreds, if not thousands, of cameras this way, and it has always worked reliably.
What you need
- Pre-made light seal set or foam mats in various thicknesses for cutting
- Usually, you need a 1 mm thick mat for the seals on the back cover (cut strips to about 1.5 mm width)
- and a 2 mm thick mat for the mirror stop damper
- Carpet knife, ruler, and cutting mat (for self-cutters)
- Cotton swabs
- Isopropanol (for removing the old seals)
- Wooden toothpick or bamboo stick for scraping out the old seals (better protects the camera paint than metal tools)
- Tweezers for precise positioning of the new seals
- Painter's tape (to protect the shutter during cleaning)
- Microfiber cloth and toothbrush (for final cleaning)
In our ready-made light seal set you get everything you need for the replacement except the solvent (isopropanol), including a special tweezer with an integrated scraper for stubborn seal residues.

Photo: Contents of our Ausgeknipst light seal set with pre-cut light seals in various thicknesses and widths, cotton swabs, hot shoe cover (available as a bonus in Feb 2025) & special tweezers.
Which cameras is this guide suitable for?
The process is almost identical for most 35mm SLRs, e.g., Canon AE-1, Olympus OM-1, Pentax ME, or Minolta SRT series.
Step 1: Remove the old light seals
Before you start:
- Carefully tape off the sensitive camera shutter (the curtains in the middle of the camera body) with painter’s tape so no old seal residue falls into the mechanics. The shutter curtain is paper-thin and extremely delicate—never touch it with your fingers or tools.
- Tip: On almost all cameras mentioned here (Canon AE-1, Olympus OM-1, Pentax ME), the back can be removed without tools: Pull the small spring-loaded pin on the hinge down, and the door will come off. Working on a removed back is much easier and also protects the shutter.
You usually find the old seals here:
- At the top and bottom edges of the back door

- Around the hinge of the back door

- At the mirror stop damper (not real sealing material, but should be replaced often)

This is how you remove the old seals:
1. Apply isopropanol to the old seals with a cotton swab.

Photo: Old seals can be dissolved with some isopropanol and then removed more easily.
2. Wait a moment for the material to soften, then carefully scrape it out with tweezers or a wooden toothpick. Avoid sharp metal tools directly in the grooves—they can scratch the camera’s paint, which later causes unwanted reflections.

Photo: You can carefully scrape off the old seals with the back part of our tweezers. Don’t apply too much pressure, or you might damage your camera’s paint.
3. Make sure no residue falls inside the camera.

Photo: If old sealing material falls inside the camera, hold the camera with the opening facing down and gently brush it out with a soft brush. A blower can push sticky particles deeper into the mechanics or the mirror box. Sometimes tapping lightly from the back of the camera helps too. Be careful: like with a baby who’s choking ;)
4. Finally, remove the last particles with a cotton swab soaked in isopropanol

Photo: To remove the last remnants of the old light seals, you can tear off a piece of cotton from a cotton swab with your fingers, clamp it in tweezers, and dip it in isopropanol. Then run the soaked cotton along the seal groove until the cotton stays completely white. The more thorough you are here, the better the new seals will stick later.

Photo: Removing the brittle mirror stop damper on a Pentax ME Super
Tipp: Be especially careful when removing the upper and lower door seals. No alcohol should get into the film counter mechanism (usually top right on the back panel), as it could damage the mechanism.

Photo: Most cameras have a small opening here for the automatic film counter reset. No old sealing material should get in here, as it could block the mechanism.
Step 2: Insert the new light seals
After cleaning, you can insert the new seals:
- If you use foam sheets, cut the strips exactly to the required size.
- For pre-made adhesive seals, peel off the protective film in stages (only 2-3 cm at a time), not all at once. This prevents the exposed adhesive from sticking to the tweezers or the wrong spots.
- Press the strips into the correct position with tweezers.
- Make sure the seal fits well at the hinge and that the door still closes easily.

Photo: New light seals are best positioned precisely with tweezers.
The trickiest part is the thin seals along the back door grooves. If they twist, just stay calm and press them into the groove with tweezers. These self-adhesive strips are a bit fiddly to position, but you don’t need to buy any special glue for them.
Pro tip (Isopropanol trick): Lightly moisten the adhesive side of the self-adhesive seal with isopropanol. This causes the glue to lose its stickiness for about 1-2 minutes, allowing you to slide and adjust the strip smoothly into the narrow grooves. Once the alcohol evaporates, the glue holds firmly.
Alternative without glue: If the glue method causes problems in very narrow grooves, you can leave the protective film on completely and simply press the strip into the groove without glue. The friction in the tight groove holds the foam securely in place even without adhesive.
Step 3: Replace the mirror stop damper
- Find the old mirror stop damper (usually a foam strip above the mirror).
- Remove it carefully so no particles fall into the mirror box.
- Cut the new damper to the appropriate size.
- Use tweezers to place it exactly in the right spot.

Photo: Installing the new mirror stop damper
Community tip: Before removing the old damper, cut a small piece of Post-It and place it over the mirror and focusing screen before you start scraping. This way, no sticky crumbs can fall onto the delicate surfaces.
Important: Do not get alcohol on the focusing screen! It can be permanently damaged.
Step 4: Final cleaning and inspection
- Carefully peel the painter’s tape off the shutter curtain.
- If you removed the back cover, hang it back in now.
- Close the back door and check that all seals are properly seated.

Photo: Finally, clean the outer housing with a slightly damp microfiber cloth and a drop of dish soap. Avoid wet brushes — water must not get into housing seams or the electronics.
Conclusion
Done! Your camera now has new light seals and should work perfectly again – goodbye light leaks!
This guide is designed for 35mm SLRs but can also be applied to medium format cameras or film cassettes with minor adjustments.
If you have any questions, feel free to leave me a comment or send us a message via the contact form in our online shop :) I look forward to photos of freshly sealed cameras!
Have fun taking photos and best regards, your Vladi!
2 comments
Hallo ich habe mir das Set gekauft, bin aber mächtig enttäuscht. Die dünnen Dichtungen an der Rücktür sind einfach nicht montierbar mit der selbstklebenden Rückseite. Bezeichnenderweise gibt es nur ein YouTube Video, bei dem die Rückseite nicht selbstklebend ist. Es ist für Normalsterbliche nicht möglich, den Streifen so hinzukriegen, dass er perfekt in der schmalen, tiefen Rille sitzt ohne dass auf einer Seite etwas Klebstoff herausschaut. Beim Festdrücken des Streifens erwischt dann die Pinzette etwas Klebstoff und das Festdrücken wird zum Fiasko. Auch wird nicht vorgeschlagen, ob die Schutzfolie komplett abgezogen werden sollte (dann muss man höllisch aufpassen, dass der dünne Streifen nirgendwo hängenbleibt) oder ob man die Schutzfolie etappenweise entfernen sollte ( dann bräuchte man eine dritte Hand). Insgesamt sehr unausgegoren. Man hätte das Produkt mit ungeübten Leuten testen sollen.
Ich habe jetzt den Streifen mitsamt der Schutzfolie in die Rille gebracht. Hält einfach durch Reibung und erzeugt keine klebrigen Stellen.
Hi, gutes Video zum Austausch der Lichtdichtungen. Vorteilhaft bei meinen Kameras war zum Tausch der Spiegeldämpfer den Innenraum gegen Krümmel mit den gelben zugeschnittenen Post-It zu verschließen, so kam nie ein schmieriger Krümmel auf den Spiegel oder die Mattscheibe.